Showing posts with label DIY. Show all posts

Tuesday, January 19, 2016

Easy DIY Valentine's Day Wreath!

This was a fun and super easy diy wreath I made in about 15 minutes! 
Keep reading to see just how simple and adorable this is.


I started out with the grey yarn wrapped foam wreath from this Easter wreath project. 


If you are starting by scratch, you'll need a foam wreath wrapped in grey yarn.

I had picked up a few goodies from the Target $1 bins last week and thought they would work nicely for this project. The circle punched paper is left over from a decor project we did for my sister's wedding. I literally have a hundred or so of these to use up. Of course, I will eventually use them! :) 


Wednesday, January 13, 2016

Send Ants Marching with Cinnamon EO!

As usual in Arkansas, this winter has been wet and muddy. Just when the yard starts to dry up, we get more rain. An unfortunate side effect is a line of marching ants along our window sills, walls, doors, floors and even kitchen cabinets!! 
Yuck! 
These little guys can multiply fast! Give them a teeny tiny crumb and suddenly a hundred of their buddies have joined the party! With the three little mess makers we have living here, there is no lack of crumbs! 


This is my go to concoction I use to rid the house of these little marching lines!
Cinnamon Bark essential oil (you can buy them here), water and a used Thieves Spray bottle.
Simply fill the Thieves Spray bottle with water and add 10 drops of Young Living Cinnamon Bark EO.
Shake and spray on location. It usually takes a few times to complete the job. 
You can literally see the ants start to die as you spray them. Not only does it take care of the current residents, but keeps more from joining the party.
How awesome is that!?!

I love that this is a non-toxic alternative to use in my home! I also love that I can successfully avoid nasty chemicals that have negative side effects on my family and pets! 

Not to mention, my house now has the delicious aroma of cinnamon throughout! Yummy!


To learn more about Young Living essential oils you can go here or here.

Give it a try and let me know how it works for you! 


Monday, January 11, 2016

Easy DIY Accent Picture Frame

My sweet momma's birthday is on December 28th. Since we were visiting her the weekend after I brought her a little something special!

My mom's colors are greens and cream colors. I wanted to find her a frame that would match either her colors or go well in her office at work. Of course, the frame would be the home to a fun photo of the grandkids!

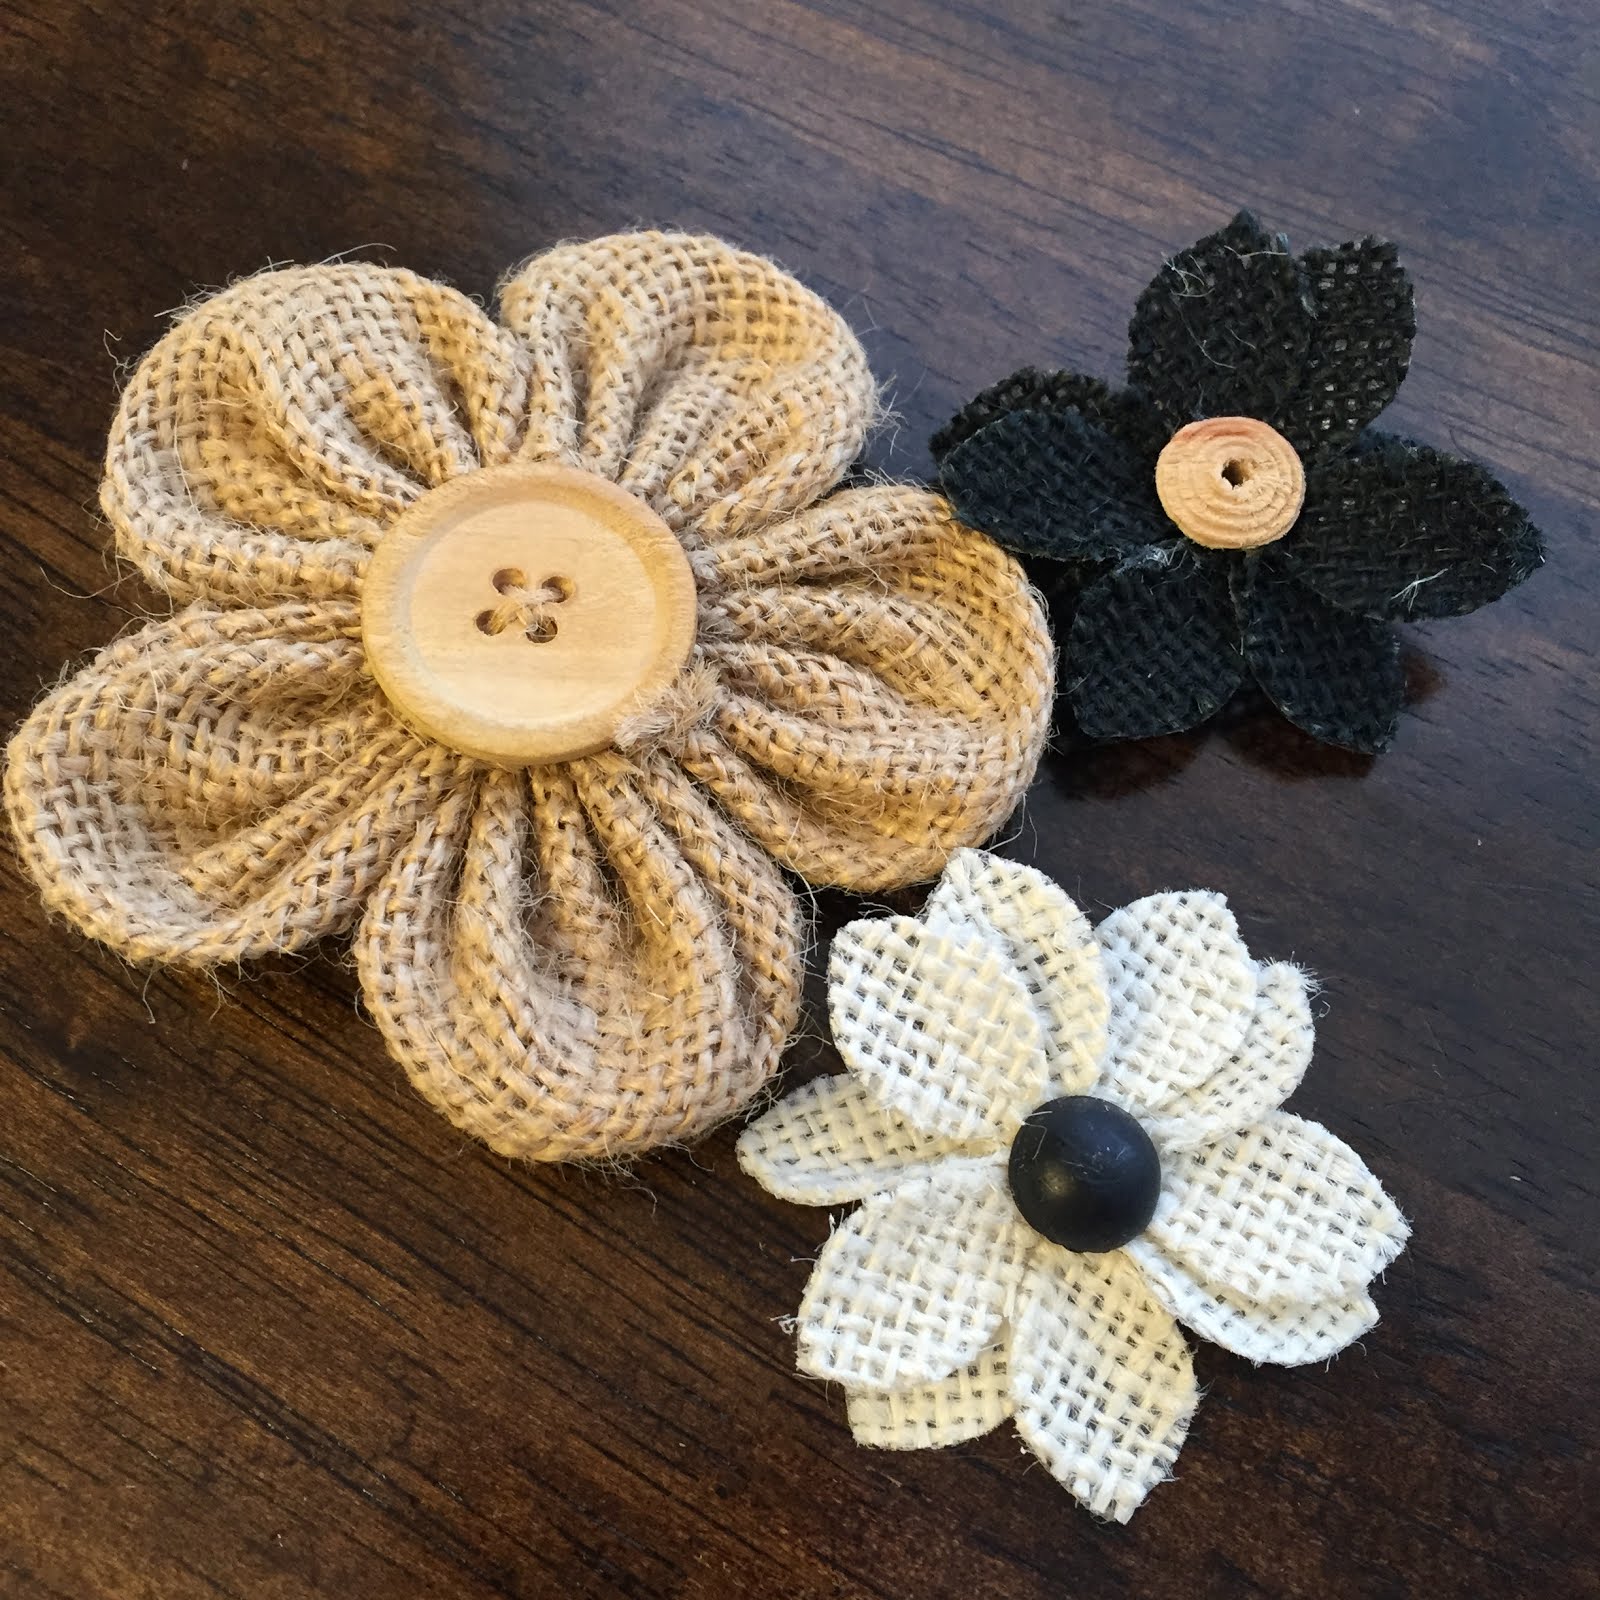
Here is what I picked up at Hobby Lobby. A green and cream stripped frame and some burlap flowers. The flowers were actually in the hair accessory area! Hey, whatever works right! 


Saturday, January 9, 2016

Moving Forward- Update 1

So we are 9 days into the new year… and thought I'd give a quick update on how I've started working on my goals for this year.

If you missed it, here is the post with my goals and plans for 2016. 

Of course, I know it will take a bit to get into a routine. We started back to school, homeschool co-op and therapy this week. We had multiple showings (or almost showings) on our house sprinkled among these activities.

Somehow, I managed to keep up with my YL business, follow the daily bible reading, and make some plans for some projects I'll share here.

I am giving myself some grace as I work up to incorporating all my goals into my daily and weekly routines. Honestly, it has been challenging!
I feel like my life is being consumed with cleaning and making sure the house is perfect. I want to be ready the second someone wants to see the house. Having three small children is like having 3 tornadoes in the house! They have done surprisingly well with helping for their ages.
Eli and Brooklyn understand that a clean house equals a better chance of selling the house. They both are looking forward to moving so that helps.
Toddlers are a different story! Haha! It takes Jude one second to draw all over the bathroom sink and counter!
I have to remind myself daily, "He is only two, he is only two"!
Here he was sitting on his poor kitty! Oh boy…


We did get to the Zoo yesterday with some friends! It's nice to take advantage of the 50 and 60 degree January Days!


I have been really excited to get more into the scripture! I love using the YouVersion Bible app on my phone. It has The One Year Bible plan. All I have to do is select the day and start reading through the passages for that day. If you get behind…cough...like me…it is easy to catch up. Since Scott and I are both doing the plan, we are enjoying bouncing thoughts off each other. Scott has a bible degree and has more knowledge on the context and history of each book. It's nice to have him around to ask historical and cultural related questions! ;)


Looking forward to next week, I want to add my yoga workouts, do more YL class planning and work on my vision board.


How has this first full week of the new year treated you? Are you working on some new personal goals?

Wednesday, December 16, 2015

10 Tips to Host an Oily Make & Take!


Soon after we found Young Living essential oils, I was finding ways to make my own nontoxic alternative products with the oils. After experimenting a little a friend and I thought we'd plan a Christmas Make and Take oil style! We did have a blast and the event was fun and successful. However, we quickly discovered the event was a lot of work and we decided to not do another for awhile.

Fast forward to last summer. My team was asking for another Make and Take and I hesitantly did a summer themed event. This event was larger (28 people showed up!) and had more take homes. 
I was overwhelmed to say the least, but everyone had a blast and the event was a success. 

Pretty last minute, my friend and I started planning another Christmas event. Our mission was to keep it simple, fun, educational, and easy. We made a few changes and we both agreed we managed to perfect the experience.

I wanted to share a few things we have learned and maybe help someone else looking into hosting their own oily event! 

1) Keep it simple! Avoid projects with lots of ingredients or steps. I found if there is one I'd like to share, but it will be pricey or time consuming, I'll make one at the event and then give it away as a door prize.


Monday, November 16, 2015

Framed Christmas Wreath


I love the Christmas season! The colors, smells, festive atmosphere, baking, music and cheer!
When I was a child my mom used to give us craft supplies and have us make homemade gifts for our relatives and friends. 
Those are fond memories of my childhood. I am extremely thankful my mom took the time to show us that a little creativity and a bit of time, can make a meaningful gift.
Now I enjoy passing down those creative Christmas gift giving skills with my children. 

This beauty isn't a Christmas gift, but very well could be!
I have been itching to try a burlap wreath for some time now and wanted to add some holiday fun to it. 

Recently, I was introduced to BloomNation and was inspired to share my ideas on floral decor. If you haven't heard of them, they are a flower delivery service that supports local florists through their online marketplace. It is a pretty neat set up. 

Walking through the Dollar Tree the other day, I saw a bunch of pretty flowers there. Snatching them up, I knew exactly what I was going to do with them!

Sunday, August 2, 2015

Ugly Chairs…

Recently, we decided to start going through all the furniture in our garage. We had been keeping nice pieces for "when we move to a bigger house". HA! Since it has been so long and we are still in our cozy first home, we figured we should part with the stuff that is crowding our limited space. 

I thought, "Goodness, I would get more for this furniture if I fix them up and paint them!". Lovely idea that has morphed into a little side business. 

I am fixing up the furniture we already had (and have sold some), but I have scored a few great deals and added to my list to redo! I have decided to try my hand at selling my projects and restored furniture at a flea market booth.

I am a little scared, but mostly excited to see how it goes! After all I love creating and refurbishing!
I started a little Facebook page to sell my pieces. You can find what I have available here at Sweet Things Furniture and Decor!   

These two chairs came from a local Facebook yard sale page. I got both of these for $12! 
A GREAT deal!!   

These chairs were disgusting! I took them apart and threw away the cushion and board. They had lived all the life they could.


I gave them a light sanding and good wipe down to get all the gunk off of them. 
Then I painted them with two coats of Americana chalky finish paint in Vintage. I bought this one at Home Depot, but found Hobby Lobby sells the same brand. At Hobby Lobby you can use the 40% off coupon on it and makes its much cheaper! 

Tuesday, July 1, 2014

3 Easy Ways to Decorate Kitchen Towels


I had this idea to add some crafty fun to these plain dish towels I picked up for cheap. You know that point when your very used and tired dish towels finally throw in the towel…  (cheesy or not pun intended!)
So I picked up some inexpensive dish towels and came up with a few ideas.

The terry towels came from Walmart for around $1.50 each. The white towels are flour sack towels, also found at Walmart, and come in packs of 5 for $5.


1. The Easy No Sew Stamped Dish Towel- This one was by far the easiest and fasted project of the three. I was quite impressed with how good the flour sack towels turned out. I use fabric paint to stamp on the pattern. My stamps consisted of a toilet paper roll and a mini cookie cutter. Here is what I started with…


I didn't end up using the bottle cap that is pictured, but other then that this was really all I needed for this fun towel!

Before stamping the towel, I prewashed and ironed the dish clothes. The pictures have some folded marks which were from folding the towels after I ironed them.

I simply spread out some teal and silver fabric paint on a paper plate. Although, I wasn't going for a shinny look the metallic silver fabric paint was all I had. Usually I will try to make what I have on hand work and this time it worked out great! The metallic paint really didn't even look metallic-y when it was dry.
Next, I pressed the toilet paper roll into the paint. I made sure it was lightly coated since I was trying to avoid globs of fabric paint.
Starting at the bottom right corner I started a row of silver circles. Then worked my way across and up the dish cloth alternating silver and teal paint.


This was unbelievably easy and fast! If you only have 15-20 minutes, you can do this!

Friday, May 16, 2014

Easy Laundry Detergent Recipe


Sometime after we had our first baby, we realized how fast we were going through detergent. Every time we went to the store we were buying another jug. So I decided to try a homemade laundry detergent and was hooked!
At that time I was making a liquid detergent and it would make 10 gallons at one time!
It worked great for the 1 1/2 years we used it. I have since moved to a powder recipe and have to say I love it even more! The liquid recipe is pretty time consuming with melting down the bars of soap. So I decided to try a powder detergent recipe I haven't looked back since! 

There are no perfumes or dyes in this detergent and is safe for those with sensitive skin. However, this is not a good recipe for washing cloth diapers. The Fels Naptha can build up on the diapers and create repelling.

This recipe is a modified version of one I found online. I can't remember where I first saw the original recipe or I'd post a link. 

Homemade Laundry Detergent

3 bars Fels Naptha
1 box Baking Soda
1 box Washing Soda
1 box Borax


First, pour the baking soda, washing soda and borax into a large bucket. We bought a 5 gallon bucket at Lowes for around $3.


Thursday, May 8, 2014

Covered Canvas and Framed Fabric


While preparing our house to sell, we took almost all of our family photos down and packed them safely away. I read that it is better to take down photos so that the potential buyers can see themselves living in the home and not focus on who is currently living there.
Unfortunately, that meant we had a lot of bare walls.

I didn't want to spend money on decor I might not use in the new house, so I had to do some brainstorming….and Pinterest browsing! 


This is what I decided to do for a quick and easy solution for our empty wall space….


I already had a 2 pack of 11"x14" canvases and the fabric was in my stash. Yep, another free-ish project! When I can make a project for free it just makes the finished product that much better!

Monday, May 5, 2014

Wooden Elephant Art


This project was inspired by a cute book our kids love us to read to them, "Kiss Kiss" by Margaret Wild. 


The book is actually about a baby hippo who leaves his mama to go play. As he is walking past his little jungle friends giving their mamas kisses, he realizes he forgot to "kiss kiss" his mama! 
It's a simple, yet adorable children's book about a baby and his need for his kisses.
Do I need to say more!

I chose to use elephants, because I loved the way they give kisses with their trunks. 
That's at least how I think a sweet mama elephant would kiss her baby! 

It didn't take much for me to put this together. I already had these scrap pieces of stained wood from an old jewelry box (it was large!) that fell apart.
The wood was still in great shape, and to my husbands demise I have kept it for projects like this.

All I needed was some small nails (found at the bottom of the tool box), a sawtooth hanger, scrap wood, a hammer, elephant clip art and coordinating scrapbook paper.


I wiped down the wood to clean of all the dust.

Wednesday, April 30, 2014

Finishing Touches

This past 2-3 weeks have been a blur. We have been working tirelessly on finishing projects. I feel like this house doesn't want us to leave. Scott and I, against our nearly finished 3 bedroom, 2 bath, 1000 square foot house.

We finally finished painting the doors and trim in nearly the whole house! Last week we finished up some ceiling repair and flooring, yard work, cleaning out closets and packing. Along with other small projects...Oh yeah, and while entertaining 3 little people! 
Scott has joked, take how long you think a project should take and then times it by 4. Then you will get a more realistic timeline when doing home renovations with kids. Ha! 
Well this crazy ride is almost over and boy will we be happy to pitch that for sale sign!

Even though repainting our WHOLE house has been a literal pain in the back (and shoulders, neck, arms, etc), it is looking amazing! I know this will pay off in the end. It has to, because it looks absolutely amazing in here!


Lots of doors and trim to paint.


Tuesday, April 29, 2014

Bye-Bye Gold Knobs!


We have been wrapping up all the house projects around here and are finally just about done! Praise the Lord! It has been a long road and a lot of hard work, but things are looking great around here! I will be posting a tour of the house soon and highlighting everything we have done.

Do you have any of these shiny gold door knobs in your house? All of our door knobs looked like this and to us screamed "dated". So of course we had to do what we do best, update them! Take a look at how easy and cheap this update was…. 


A few of the door knobs had been replaced to brushed nickel when the locks were changed so we really needed to finish the rest of the house. But replacing them would have been more money then we wanted to spend. To cut the costs we chose to simply spray paint them with Rustoleum's metallic silver paint.
Let me tell you the hardest part of the job was removing the knobs and hardware! That really wasn't hard either just a bit time consuming.

Once all the knobs were off, I used some steel wool to lightly rough them up. The goal was to help the paint stick to the knob, but not make deep scratches in them.

Thursday, April 3, 2014

Easy and Frugal Dishwasher Update


 Last week we made some great progress on our To Do list. Not everything got crossed off, but we did get everything started! Amid us painting trim and doors in the whole house, drywall repair, yard work, and pressure washing the outside, I managed to squeeze in a few projects. This dishwasher update was one I wedged in the To Do list one morning.

I saw Young House Love's blog about their recent dishwasher update and thought the end result was pretty dramatic. (You can check out their dishwasher's new look here.) Painting a few dishwasher door pieces can make a big difference! So you know, in all my many opportunities of spare time I thought I would give it a shot.

Here is what I started with.....


Our basic black oldish dishwasher....most likely has been here since the house was built in 1996. 


I started by unscrewing the side panels.


Wednesday, April 2, 2014

DIY Beadboard Backsplash


We are LOVING this kitchen update and only wish we had done this when we moved in four years ago!


After we treated the counters with Rustoleum Countertop Transformation kit here, we had bare torn up drywall for a backsplash.


The laminate countertops extended up the wall, where it had been glued to the drywall. When we scraped it off, it decided to take bits of the wall with it. Up until that point we were thinking to keep the costs down we would just paint the wall. Now looking back I really am glad we had to do a backsplash!

Here are some photos of the kitchen before the awesome beadboard was installed...

Monday, March 10, 2014

Fabulous Fabric Circle Art for under $5


We recently painted our whole house as we are preparing to sale it.
So now I've been a bit hesitant to put a bunch of nail holes in the walls again.
I knew we needed to do something to warm up the rooms, but wanted to keep it lightweight to avoid large holes.


Looking for inspiration I loved simple yet colorful shapes hung in clusters!
This project is easy and cheap.  I just gathered up different patterned fabric from my fabric collection.

Monday, March 3, 2014

Kitchen Counter Makeover

This past weekend we have been making some BIG changes in our kitchen!
We were wanting to spruce up our old out dated counters. After getting an estimate for new laminate countertops with installation for just over $700, we said 'thanks, but no thanks!'.

We decided on trying Rustoleum's Countertop Transformation Kit. The kit we bought was for 30 sq feet, found on ebay for $150 with free shipping. 

Our counters were an off white laminate that was chipped and scratched.


Sunday, February 23, 2014

DIY Mod Podge Letter

Here is a fun project to make. Simply start with a basic wooden letter, add your choice of paper personality and you have a beautiful piece of art! I have made each of my kids one and it's my go to baby shower gift.  I just love making these letters! 

Here is how easy these fun letters are....


 Things you will need....

Saturday, July 27, 2013

Master Bedroom Redo - DIY Fabric Headboard


This was my project a few weekends ago! It really was a simple as it looks and I am loving the results!!

As I mentioned before I was inspired by Young House Love's new book.  I highly recommend you check out YHL's book! It is filled with creative and fun ideas on how to decorate your house on a budget. A great resource for a frugal DIYer like myself! 

Saturday, June 15, 2013

Master Room Redo-New Paint and Plans

Our Master Bedroom has been needing a face lift for a looooong time! I seriously felt like I was sitting in a dark cave! So last weekend we decided to tackle the walls and trim. 
  In one weekend we prepped the trim and walls, panted the trim, and primed and painted the walls! 
It was a lot of work but I am in love with the results! 


Here is the before pictures I snapped when I was prepping the walls.


Believe it or not the whole 3 1/2 years we have lived here we never painted any trim......not to say they didn't need a beautiful coat of white paint....we just never got around to it. It was not as easy or as fast as I thought it would be. 
I had decided I was not going to use painters tape at all during this job and do the ol cutting in with a brush. Although, it was slower I was extremely pleased with the clean lines and NO CLEAN UP! haha 
We did have to scrub off a few tiny splatters of the wood floor left by the roller. Besides that it was as easy as picking up the floor coverings and washing out our brushes!  And now that we have crispy white trim in our room I am in LOVE! Now I can not wait to get to the rest of the house! There is just something with a fresh bright coat of paint that makes me all giddy inside. 

So since the trim took me all of Friday evening to do. No joke, it took me about 2 1/2 hours! I didn't get the primer on the walls till Saturday morning.  That afternoon we (hubby and I) teamed up and got the first and only coat, thanks to it being paint + primer, on the walls. He managed the roller while I cut in with the brush. We work great as a team and got the whole room painted in an hour. Usually we have to take shifts on kid patrol unless we start after the kiddos bedtime. 
We did take a small roller and touch up a few places, but really other then that we only used one can of Kilz and one can of paint+primer!


So we ended up spending the weekend sleeping on the air mattress in the living room....but it was definitely worth it! 
Everytime I walk in our room I get all excited! 

Before...


And after....!!


The next job will be to make our headboard that was inspired by Young House Love's new book!
I bought the book for my sister (who introduced me to YHL) for her Birthday and couldn't help but review it for her! hehe! Yes, I will be buying for myself as well!

Anyhow...... here is my list of plans for our bedroom.


1. Make headboard and attach to wall.
2. Paint night stands white
3. Find material and make curtains
4. Buy a new bedspread
5. Paint doors
6. Make or find discounted accent pillows
7. Find a craigslist 2nd hand long dresser (possibly refinish) to replace our mismatched furniture. 


Yes, and all this I really want to happen before the baby comes. Not too much to ask, right? :)

Here is a sneak peek of the fabric we chose for our headboard. I'll have more on how much money we ended up saving!


Have you brightened up a space in your house recently?
Related Posts Plugin for WordPress, Blogger...